Access the Unity Tools
Via VRse Tools Overlay
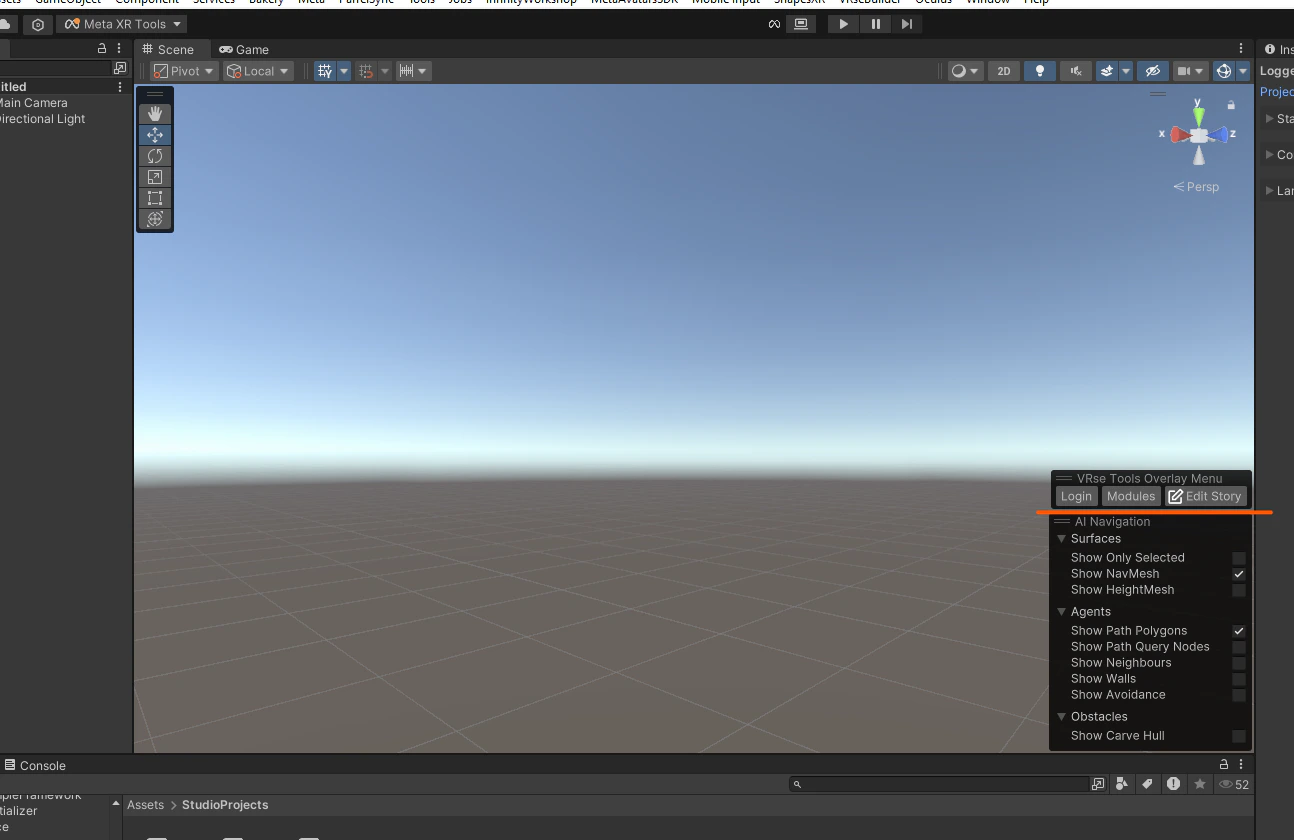
Story Edit Window Interface
This window will help you edit and manage content for your VR story, once you have logged inCreator Section
The Creator section is the primary workspace for editing your VR story experiences.Interface Layout
The Creator section features a split-panel interface with: Left Panel: Navigation Hierarchy- Hierarchical chapter and moment navigation
- Visual highlighting of current selection
- Quick access to all story elements
- Contextual editing interface for selected elements
- Node-based editing system
- Parameter configuration panels
- Drag to resize panels according to your workflow preferences
- Optimizes workspace organization
3.1.2 Save Management
Save Status Indicator The save status is clearly indicated through color-coded buttons:- 🔴 Red “Save to JSON file” button: Current story contains unsaved changes
- 🟢 Green “Save to JSON file” button: Story is saved and up-to-date
- Click the “Save to JSON file” button
- A confirmation dialog will appear with:
- Confirmation button: Proceed with saving
- Cancel button: Cancel the save operation
- Click Confirmation to save changes
- Button will turn green to indicate successful save
3.1.3 Load Management
**Load from JSON** Purpose: Restore previously saved story state Use Case: When you want to discard current changes and revert to last saved version Step 1: Load Saved Version- Click “Load from JSON file” button
- Current unsaved changes will be discarded
- Story will revert to last saved state
3.1.4 File Management
**Open JSON File** Purpose: View the raw JSON file containing your story data Step 1: Open File- Click “Open File” button
- JSON file will open in your default text editor
- View raw story structure and data
3.1.5 Voice Over Tool
The Voice Over (VO) Tool provides comprehensive audio generation and management capabilities for your VR experiences. **Accessing the VO Tool** Step 1: Open VO Preview- In the Creator section, click the “VO Preview” button
- The Voice Over Previews window will open
- Voice-overs grouped by chapter and moment
- Clear visual hierarchy for easy navigation
- Expandable sections for detailed view
- Pending Generation: VOs awaiting generation
- Generated: Completed voice-over files
- Locate the VO marked as pending
- Click the “Generate Pending VO” button (yellow text) below the specific VO
- System will generate audio files for all pending voice-overs
- Scroll to the bottom of the VO Preview window
- Click the “Generate Pending \<number\> VOs” button
- System will generate all pending voice-overs in sequence
- Find the VO that has been successfully generated
- Generated VOs will show a play button at the bottom
- Click the play button to test the audio
- Listen to ensure quality and accuracy
- Use for final verification before deployment
- Locate the toggle below the “Generate Pending VOs” button
- Enable toggle: Delete existing VOs and regenerate all
- Disable toggle: Only generate missing VOs
- Voice quality improvements
- Script changes requiring new audio
- Different voice settings or parameters
- When all VOs are complete, window displays: “No pending VOs to be generated.” (green text)
- Indicates story is ready for deployment
- Clear count of remaining VOs to generate
- Progress tracking for large stories
3.1.6 Node-Based Editing System
The Creator section uses an advanced node-based editing system for intuitive story creation. Key Features Template-Based Node Selection- Choose from pre-defined node templates
- No dependency on external node libraries
- Consistent parameter structure across node types
- Parameter editors adapt based on selected node type
- Organized sections for different parameter categories
- Expandable sections for better data organization
- Improved readability of node data sections
- Expandable parameter groups
- Clear visual hierarchy for complex data structures
3.1.7 Navigation System
Enhanced Chapter and Moment Organization Hierarchical Structure- Clear chapter and moment hierarchy in left panel
- Visual indicators for current selection
- Expandable/collapsible sections for better organization
- Click any chapter or moment for instant navigation
- Visual highlighting shows current selection
- Breadcrumb navigation for complex stories
- Selected elements: Highlighted in the navigation panel
- Modified elements: Visual indicators for unsaved changes
3.1.8 Copy/Paste Functionality
The Creator section supports comprehensive copy/paste operations for efficient story development. Supported Operations Chapter Level- Copy entire chapters with all contained moments
- Paste chapters to duplicate story sections
- Maintain all node relationships and parameters
- Copy individual moments
- Paste moments within same or different chapters
- Preserve all actions and triggers
- Copy individual nodes (actions, triggers)
- Paste nodes within same or different moments
- Maintain all parameter settings
- Copy: Copy selected element
- Paste: Paste previously copied element
- Remove: Delete selected elements
- Click on the three-dot menu (⋯) next to the element you want to copy
- Select Copy from the menu
- Navigate to the desired location in your story
- Click on the three-dot menu (⋯) in the target location
- Select Paste from the menu
- Element will be duplicated with all parameters intact
3.2 Report Section
Analysis and reporting tools for story performance and analytics. (Coming in future update)3.3 References Section
Asset and reference management for story components. (Coming in future update)3.4 VRse Objects Section
Object and component management for VR experiences. (Coming in future update)Story Editing Workflow
4.1 Basic Editing Process
Step 1: Open Story Editor- Access VRse Tool Overlay
- Click Edit Story
- Select Creator section
- Use left panel to navigate to desired chapter/moment
- Click on target element for editing
- Right panel will display editing interface
- Add/modify nodes using template system
- Configure parameters in contextual editors
- Use copy/paste for efficiency
- Monitor save status indicator
- Click “Save to JSON file” when ready
- Confirm save operation
4.2 Advanced Editing Techniques
Working with Templates
Using Node Templates- Select “Add Node” in your moment
- Choose appropriate template from dropdown
- Configure parameters using contextual editors
- Save changes
Managing Complex Stories
Chapter Organization- Use descriptive chapter names
- Organize related moments together
- Utilize copy/paste for similar content
- Keep moments focused on single interactions
- Use clear naming conventions
- Document complex trigger/action relationships
5. Advanced Features
5.1 Custom Node Creation
For advanced users, new nodes can be added to extend the system’s capabilities.Adding New Nodes
Step 1: Access Node Template Data- Navigate to:
Assets/Core/NoCode/DataVRseHelper/NodeTemplateData.asset - Open the asset in Unity Inspector
- Node Name: Specify the name for your new node
- Options: Add different option types for the node
- Parameters: Define required parameters for each option
- Parameter Name: Key identifier
- Data Type: Type of value (string, int, float, bool, etc.)
- Default Value: Initial value when node is created
Parameter Types
Supported Data Types:- String: Text-based parameters
- Integer: Whole number values
- Float: Decimal number values
- Boolean: True/false toggles
- GameObject: Scene object references
- Vector3: 3D position/rotation/scale values